


News
Basics of damp proofing
Damages caused by improper choice of materials or incorrect execution of damp proofing in wet zones can be immense and can result in costly repairs. To avoid them, we recommend to choose the line of professional damp proofing materials from the ATLAS Woder range.
Damp proofing is used in wet zones to protect building partitions against in-penetration of moisture. The type of damp proofing is closely associated with the moisture load and room or building designation. ATLAS Woder line includes one- and two-component products intended for light-, medium- (groundwater) and heavy weight damp proofing (water under pressure). In bathrooms we use only lightweight type which protects against unpressurized water.
Damp and wet zones
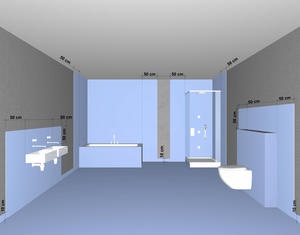
Bathroom is one of the rooms where damp proofing is indispensable. During application we should take special care not to make a mistake which could result in costly consequences and time-consuming repairs. Properly executed damp proofing of a bathroom forms a barrier against the penetration of moisture into the structure of the building partition. Before the commencement of works related directly to damp proofing, it is advisable to mark, so-called wet zones on the bathroom scheme – they are to be coated with the mass.
Key:
Damp zones marked with grey colour. Wet zones marked with blue colour.
Wet zone in a bathroom consists of the areas exposed to direct contact with water. Firstly, we assume that the entire floor surface and the adjacent min. 10 cm wide strip of wall are the wet zones. Moreover, wet zones are determined at places where bathtub, shower cabin or washbasins are situated and at areas which are within min. 50 cm distance from their outline. On the other hand, damp zone in a bathroom is generally the area vulnerable to moisture (e.g. due to water vapour condensation). Damp zones do not require damp proofing.
Note: In small bathrooms, for example in multi-family housing, it is recommended to treat the entire room as the wet zone.
Application of damp proofing step by step
Substrate preparation before the application of insulation (we carry out the damp proofing with ATLAS Woder W).
We should be well prepared before the execution of damp proofing. We begin with the determination of the wet zones in the room. Then, we should make a decision on the product type. Last but not the least phase is related to good planning. Below, we list how to apply the consecutive layers of damp proofing and what are the details we should pay attention to.
STEP 1.
Selection of damp proofing products. Having determined the wet zones, the next step is the selection of suitable damp proofing materials – one- or two-component ones. We recommend to apply the damp proofing in two coats. The task of the first coat is to fill all the pores (due to the application method) and to form a bonding layer for the next damp proofing coating. The second coat prevents from moisture penetration into the building partition. Only the use of two coats provides full protection against moisture. ATLAS Woder W, which is also called “a liquid foil”, is a proper choice for damp proofing in bathrooms. You can also use ATLAS Woder E (AVAL KL 51)which is more universal due to potential indoor and outdoor use. They are one-component, ready-to-use masses which are suitable for use after mixing in a bucket.
STEP 2.
Substrate preparation. Liquid foil should be applied onto properly prepared substrates. The substrate should be even, sound and dry. ATLAS Woder W can be applied onto cement, concrete or anhydrite screeds, cement-lime or gypsum plasters, concrete, aerated concrete, silicate, plasterboard and OSB.
STEP 3.
Application of the first coat. The first coat of liquid foil (Photo 3) should be applied firstly at the areas where ATLAS sealing tapes(grey ones) or ATLAS Hydroband 3G tapes are to be used. ATLAS “grey” tapes are appropriate for indoor applications. ATLASHydroband 3G tapes are more universal and can be used also in external damp proofing. They are indispensable system components which complement damp proofing. Sealing tapes should be applied to all wet zone critical places, such as:
• joints between wall and floor,
• wall corners,
• inlets and pipe passages through the walls,
• drains,
• all joints between the elements,
• expansion joints.
In order to apply the tapes properly, one needs to embed them into the freshly applied first liquid foil coat. There are also ATLAS Hydroband 3G system corners and rings available, which can installed in the area of pipes inlets. Naturally, ATLAS “grey” sealing system also includes tapes, corners and rings for pipes inlets. After embedding the tapes, corners and rings, one should apply the whole first damp proofing coat by rubbing it with a paint brush (Photo. 4).
STEP 4.
Application of the second coat. The second coat of ATLAS Woder W damp proofing (Photo 5) should be applied only when the first coat dries (after approx. 3 hours). Therefore, it is easier to control the coat thickness and to check whether the substrate shows through. We need to underline that ATLAS Woder W changes colour when dries. This increases the work comfort and facilitates the evaluation of the exact time, after which you can safely apply the subsequent coat. As we mentioned, the recommended application method in case of the first damp proofing coat is rubbing the mass using a paint brush. This method provides a contact layer for the next coat and ensures filling all the substrate pores. The second coat can be applied with a paint brush or a steel float.
STEP 5.
Finishing works. After approx. 24 hours since the application of the liquid foil, we can start the finishing works and cover the surface with the cladding. The surface, onto which the liquid foil was applied, should be protected against external water for 3 days.
Critical questions.
What primers should be used for internal and external damp proofing?
In case of ATLAS Woder S (cement damp proofing) the substrate should be initially intensively moistened. During the application it should be of matt-wet state. It is recommended to prime the excessively absorbent (e.g. cement-lime plasters) substrates with ATLASUni-Grunt (AVAL KT 17) in case of damp proofing with the use of ready-to-use one-component ATLAS Woder W and ATLAS Woder E (AVAL KL 51) damp proofing masses. To improve the adhesion to extremely smooth substrates of low absorption, one should apply ATLAS Grunto-Plast (AVAL KT 16) first. In case of ATLAS Woder Duo – two-component damp proofing, the substrate should be intensively moistened first and of matt-wet state during the application. Again we recommend priming particularly absorbent or dusty surfaces (e.g. cement-lime plasters) with ATLAS Uni-Grunt (AVAL KT 17) emulsion. Accordingly, very smooth substrates of low water absorption (e.g. OSB) can be additionally coated with ATLAS Grunto-Plast (AVAL KT 16) mass.
What kind of damp proofing shall be applied onto gypsum plasters?
It is preferable to use one-component Atlas Woder E (AVAL KL 51) and Atlas Woder W damp proofing masses. They do not contain cement. We should remember that it is forbidden to combine cement and gypsum, as it may lead to formation of ettringite. The resulting ettringite is highly expansive. Crystallizing salts cause swelling and increase their volume up to 168 %. Direct combination of gypsum plaster and cement damp proofing results in destruction of the top finishing layer. ATLAS Woder Duo should be applied on the primed substrate. The primer separates the layer of the gypsum plaster from the damp proofing coat. To sum up, we recommend to use one-component damp proofing masses in case of gypsum plasters – namely ATLAS Woder E (AVAL KL 51) which is more universal (applicable both indoors and outdoors), or ATLAS Woder W which works well indoors.
Is there a need to use C2 S1 adhesive on the damp proofing coat?
It is recommended to use C2 S1 type of adhesive (such as ATLAS Elastyk (AVAL KM 16) or adhesives of Plus line) on damp proofing when fixing the tiles. Due to their high deformability the adhesives perfectly compensate thermal stresses occurring on balconies and terraces slabs and in case of underfloor or wall heating systems. They are also recommended at places vulnerable to mechanical stresses where should be applied on the elastic damp proofing – ATLAS Woder E (AVAL KL 51), ATLAS Woder W and ATLAS Woder Duo.
Damp proofing – only from a single manufacturer?
Compatibility. To avoid the problems with elements incompatibility, one should use complete damp proofing system including accessories provided by a single manufacturer. Whole system strategy simplifies and speeds up the work progress. System manufacturer usually anticipates potential problems which may occur during the system installation and improves the system to eliminate them. Thus, we get certainty that the entire system has been tested in view of adhesion of particular elements. It is worth saying that when using ATLAS damp proofing system one avoids problems with embedding tapes, sealing corners in the damp proofing coat. All system components work well together.
Comprehensive solution?
Application of incomplete damp proofing system can result in unpleasant consequences. The dampness which penetrates through the building partition may cause the occurrence of mould and efflorescence. The consequences of this process are harmful not only in view to performance and aesthetics of a building, but above all, in view to health of the building residents. To top it all, drying damp walls is much more difficult and more expensive than executing proper damp proofing system.
In ATLAS offer:
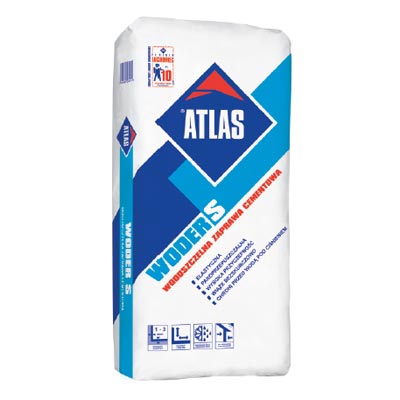
ATLAS WODER S
 • Forms a damp proofing coat – light-, medium- or heavy weight type of damp proofing (depending on the thickness of applied coat)
• Flexible
• Water vapour permeable
• High adhesion
• Shrinkage-less bonding despite the mineral nature of the coating
ATLAS WODER DUO
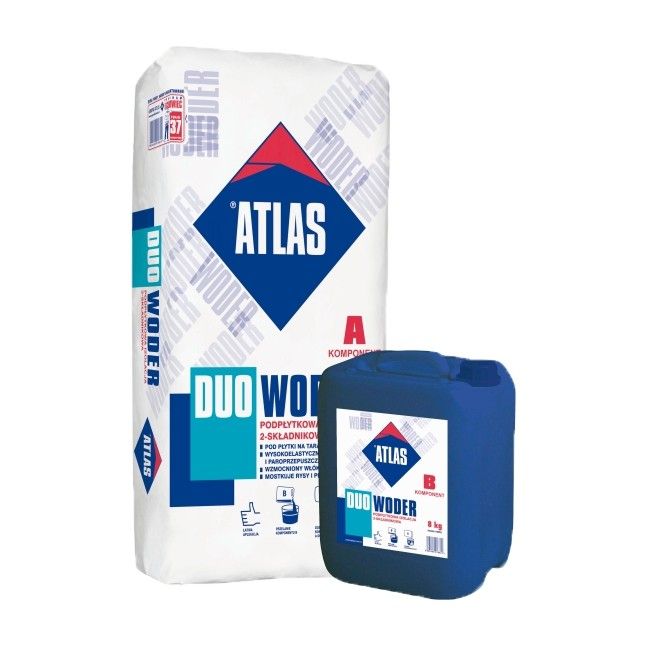 • Recommended as damp proofing beneath the tiles on terraces, balconies, in wet rooms and as the foundations waterproofing
• Forms damp proofing or waterproofing (light-, medium- or heavy weight)
• Flexible – obturates scratches and cracks up to 1 mm wide
• Reinforced with polymer fibres
• Resistant to negative water pressure
ATLAS WODER W
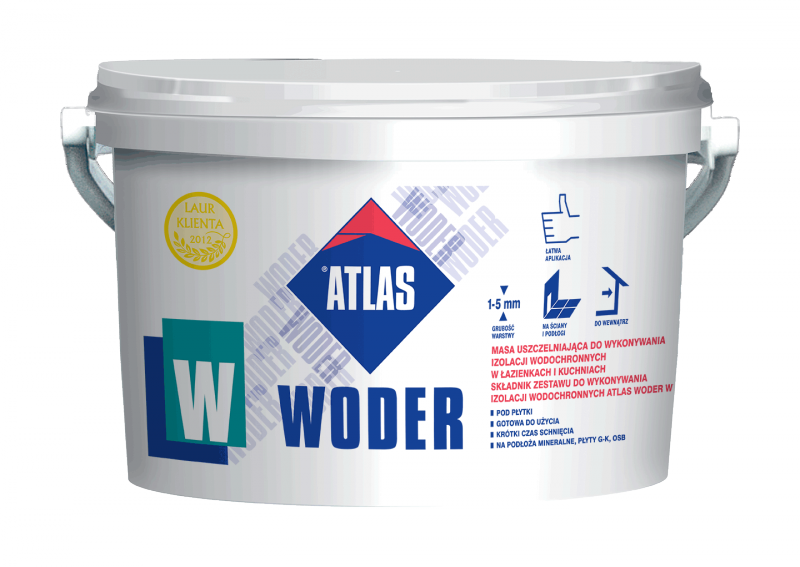 • Recommended for proofing the substrate beneath the tiles against indoor moisture
• Flexible – obturates scratches and cracks up to 2.5 mm wide
• Application of the second coat just after 3 h
• Fixing the tiles after 24 h
• Allows easy and uniform application on substrates due to change of colour after drying
ATLAS WODER E (AVAL KL 51)
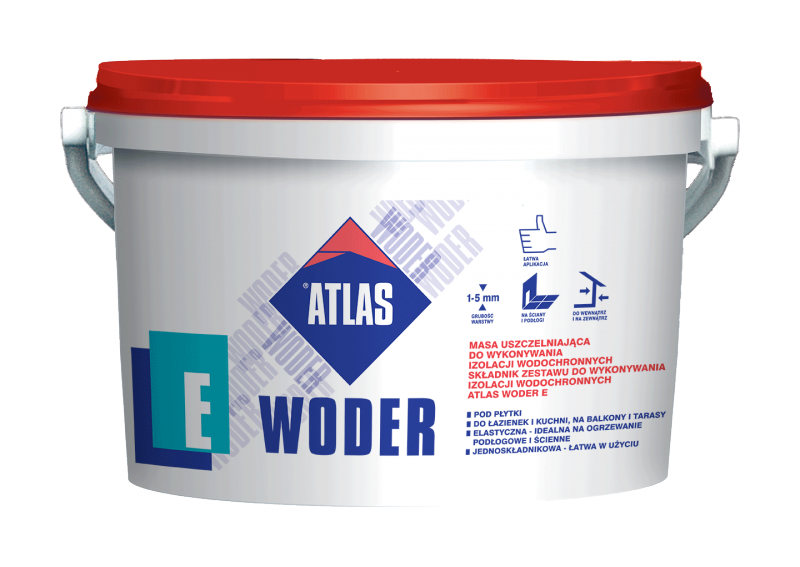 • Recommended for proofing the substrates beneath the tiles against unpressurized water
• Flexible – obturates scratches and cracks up to 2.5 mm wide
• Application of the second coat just after 3 h
• Fixing the tiles after 24 h
• Particularly recommended for outdoor use